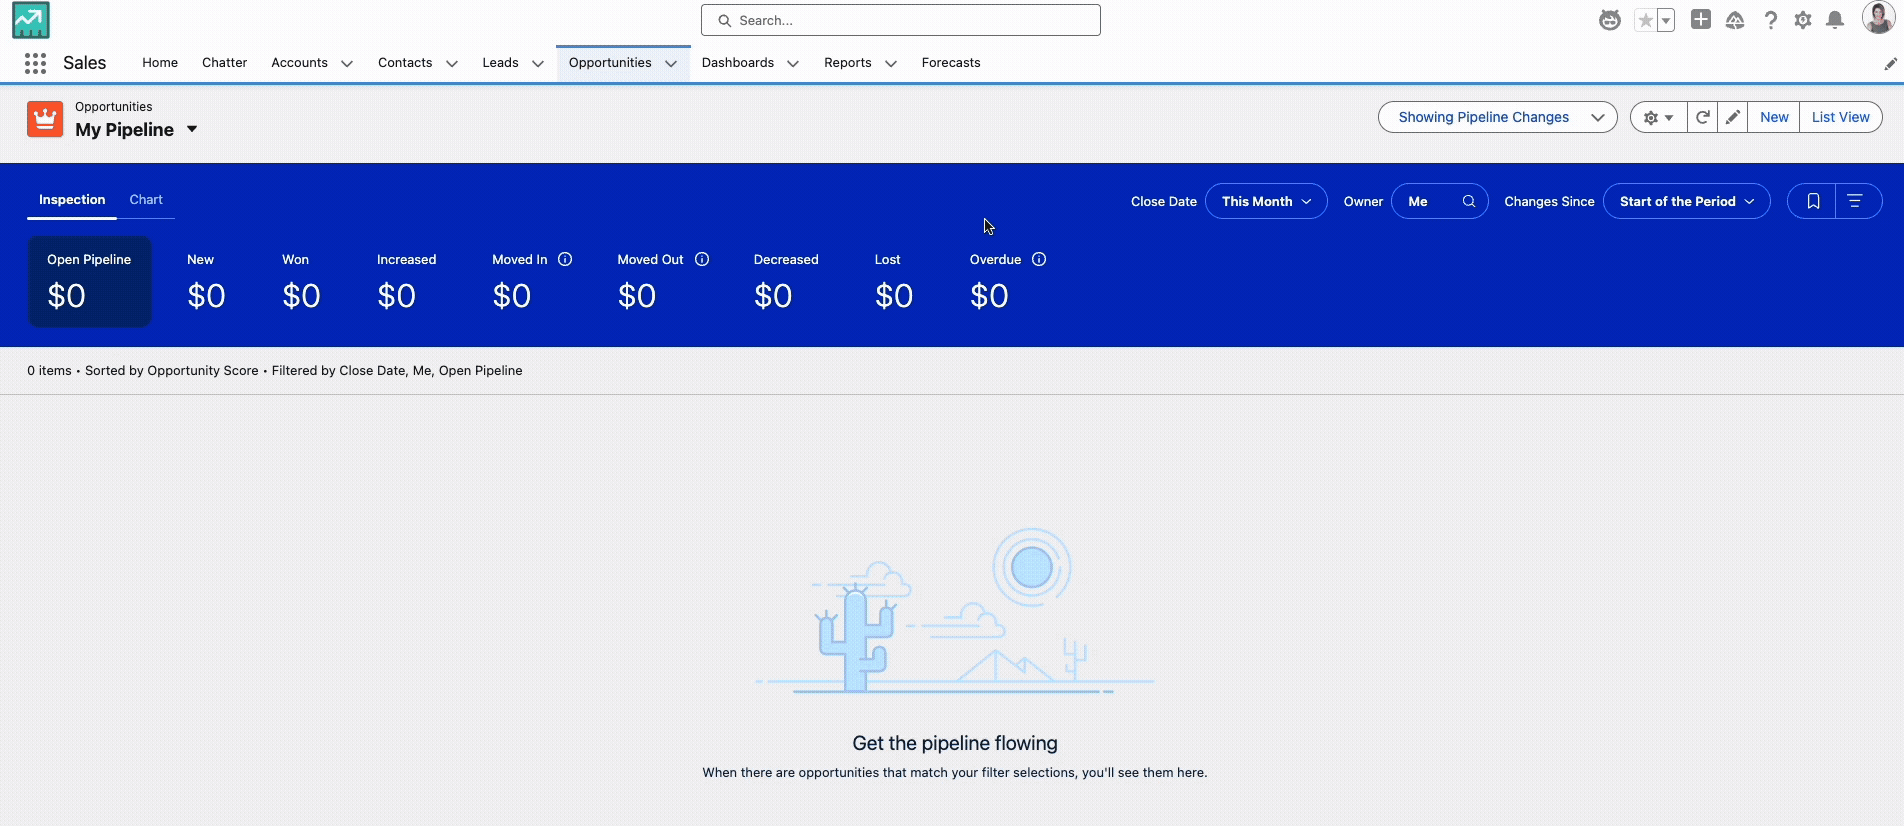
Ever found yourself in Salesforce Pipeline Inspection, meticulously applying filters at the top of the page, only to open the “Show Filters” panel on the right (that handy three-lines icon) and see it unchanged? It’s a common point of confusion: why don’t these filter sections seem to “talk” to each other?
If you’ve experienced this, you’re not alone. This behaviour isn’t a bug; it’s a deliberate design choice by Salesforce that, once understood, can unlock a more powerful and intuitive pipeline analysis experience. Let’s break down the distinct roles of these two filter areas and how to master their interaction.
Meet the Players: Preset Filters vs. “Show Filters”
Salesforce Pipeline Inspection gives you two primary ways to slice and dice your pipeline data:
- The Preset Filters (Top of the Page): The Broad Strokes Located prominently at the very top of your Pipeline Inspection screen, these are your high-level, overarching filters. They define the core dataset you’re looking at. You’ll typically find options like:
- Close Date Range: (e.g., This Quarter, Next Quarter, Current Month)
- Changes Since: (e.g., Start of Period, Last 7 Days)
- Owner/Team: (e.g., My Opportunities, My Team’s Opportunities)
Any change you make here immediately and directly refreshes the entire summary (New, Increased, Decreased, etc.) and the list of opportunities displayed below. These are your go-to for setting the primary time horizon and ownership scope of your pipeline review.
- The “Show Filters” (Three-Lines Icon/Panel on the Right): The Fine Details Clicking the three horizontal lines icon on the right side of the screen reveals a slide-out panel. This area provides granular filtering options that are similar to what you’d find in a standard Salesforce list view. Here, you can add more specific criteria to further refine the opportunities within the dataset already defined by your Preset Filters. Examples include:
Opportunity Stage Amount Account Name Opportunity Record TypeAny custom fields relevant to your sales process (e.g.,Product Family,Lead Source).
Why Don’t They Sync? It’s About Flexibility!
The key to understanding this apparent disconnect lies in their distinct purposes and Salesforce’s commitment to user control.
Imagine you’re an avid book collector.
Your Preset Filter is like choosing a bookshelf: You select “Fiction” or “Non-Fiction.” This immediately changes the set of books you’re looking at.
Your “Show Filters” are like a detailed search within that bookshelf: You might search for “Mysteries” or “Books by Lisa.”
Now, if you switch your bookshelf from “Fiction” to “Non-Fiction,” you wouldn’t necessarily want your specific “Mysteries” search term to disappear, would you? You might still want to search for “Mysteries” within the Non-Fiction section (e.g., true crime mysteries!).
Salesforce Pipeline Inspection works similarly:
Distinct Purposes: The Preset Filters define the universe of opportunities you’re examining (e.g., all opportunities closing this quarter). The “Show Filters” then allow you to drill down into specific subsets within that universe (e.g., only those opportunities in the “Value Proposition” stage).
User Control: This separation provides immense flexibility. You can quickly switch your core time period (via Preset Filters) and still have your detailed “Show Filters” (like filtering by a specific industry or product type) ready to apply to the new dataset without having to re-select them every time.
Performance: Automatically re-applying and synchronizing every granular filter with every top-level change could also impact performance, especially in larger organizations with extensive pipelines.
Putting It Into Practice: Examples
Let’s walk through a common scenario to illustrate this behaviour:
Scenario 1: Refining Your Q2 Pipeline
Initial Setup: Open Pipeline Inspection.
- Preset Filters: Set Close Date Range toThis Quarter, Changes Since toStart of Period, and Owner toMy Team.
- The dashboard updates to show your team’s pipeline for this quarter.Adding Detail with “Show Filters”: You want to focus only on late-stage deals.
- Click the three-lines icon to open the “Show Filters” panel.
- Add a filter:Stage EQUALS Value Proposition, Negotiation, Closed Won.
- The list of opportunities below the summary metrics now only shows deals in those stages, within your team, for this quarter.
- Notice: The “Show Filters” panel now visibly displays “Stage: Value Proposition, Negotiation, Closed Won.”Changing the Core Scope (Preset Filter Change): Now you want to look at Next Quarter’s pipeline with the same stage focus.
- You change the Preset Filter for Close Date Range fromThis QuartertoNext Quarter.
- The summary metrics and opportunity list immediately update to show your team’s deals for next quarter.
- Crucially, if you open the “Show Filters” panel again, you’ll still see “Stage: Value Proposition, Negotiation, Closed Won” displayed. This filter is still active and is now applying to theNext Quarterdataset. The panel didn’t reset, but its filter logic is now applied to the new scope.
Scenario 2: The “Show Filters” Panel Retains State
Initial Filter: You’re looking at your opportunities.
- Preset Filters: Default toThis Quarter,Start of Period,Me.
- “Show Filters”: Open the panel and addAmount GREATER OR EQUAL TO $100,000. The list updates.Navigating Away and Back: You navigate to a different Salesforce tab (e.g., Accounts), do some work, and then navigate back to Pipeline Inspection.
- Preset Filters: Will likely revert to their default or last saved view settings (e.g.,This Quarter).
- “Show Filters”: When you open the side panel, you will still see**Amount GREATER OR EQUAL TO $100,000**visible and active. The “Show Filters” panel tends to retain its last-applied state for your user session, even if the underlying data set (from Preset Filters) has changed or reset to default.
Master Your Pipeline Views
Understanding this distinct behaviour is key to efficiently managing your pipeline. Here are the best practices:
Start Broad, Then Refine: Always begin by setting your Preset Filters to establish the primary time period and ownership scope.
Drill Down with “Show Filters”: Use the “Show Filters” panel to add your specific criteria for deeper analysis within that defined scope.
Save Your Custom Views! This is the ultimate power move. If you frequently use a specific combination of both Preset Filters AND “Show Filters”, save it as a custom Pipeline View. This ensures that every time you select that saved view, all your desired filters (both top-level and granular) are applied instantly. This consistency is invaluable for reporting and analysis.
By recognizing the independent yet complementary roles of these two filter areas, you can stop fighting Pipeline Inspection and start truly making it work for you. No more mysteries, just clear, actionable insights into your sales pipeline!
What’s your favourite filter combination in Pipeline Inspection? Have any tips for fellow sales pros? Share your thoughts and questions in the comments below!